Connecting to Cisco VPN with Ubuntu
I recently wanted to connect to my works Cisco VPN network from my home Ubuntu PC. As it turned out this is very straightforward.
Firstly you need to install support for the VPN protocol, which for a Cisco network meant using the following command:
$ sudo apt-get install network-manager-vpnc
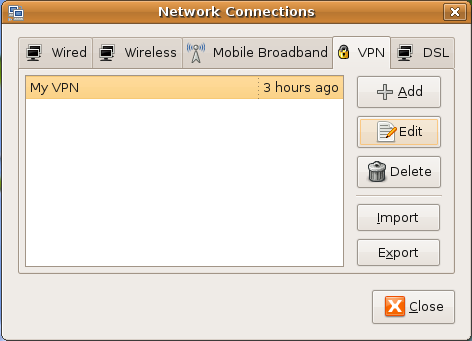
Once this is installed, right click on the network icon in the system try and choose Edit Connections.

Select the VPN tab. You are then able create a new connection by choosing Add, or if you have a profile file then you can choose Import and select the file.
At this point you may need to restart the network manager, or restart your machine. Do this if you get any “no valid secrets” errors.
You should now be able connect to the VPN network by left clicking on the network icon, hovering over the VPN Connections option and choosing the profile from the list.
For more information on and instructions for other protocols look at the VPN topic on the Ubuntu Wiki.
Update 2010-11-08 - I can confirm that this still works fine with Ubuntu 10.10. It’s just the screen shots that are out of date :-)
Update 2011-06-27 - Works fine with Ubuntu 11.04 too!